HAZARD WARNING! In order to start this project, I had to be trained in order to learn how to properly use the 3D printer. This was a two-part project, you first had to start by actually design the Chemical symbol in Fusion 360. Fusion 360 is a precise tool used for 2D and 3D modeling. Before you can start making the symbol you have to start off by playing around with the program in order to get used to it.
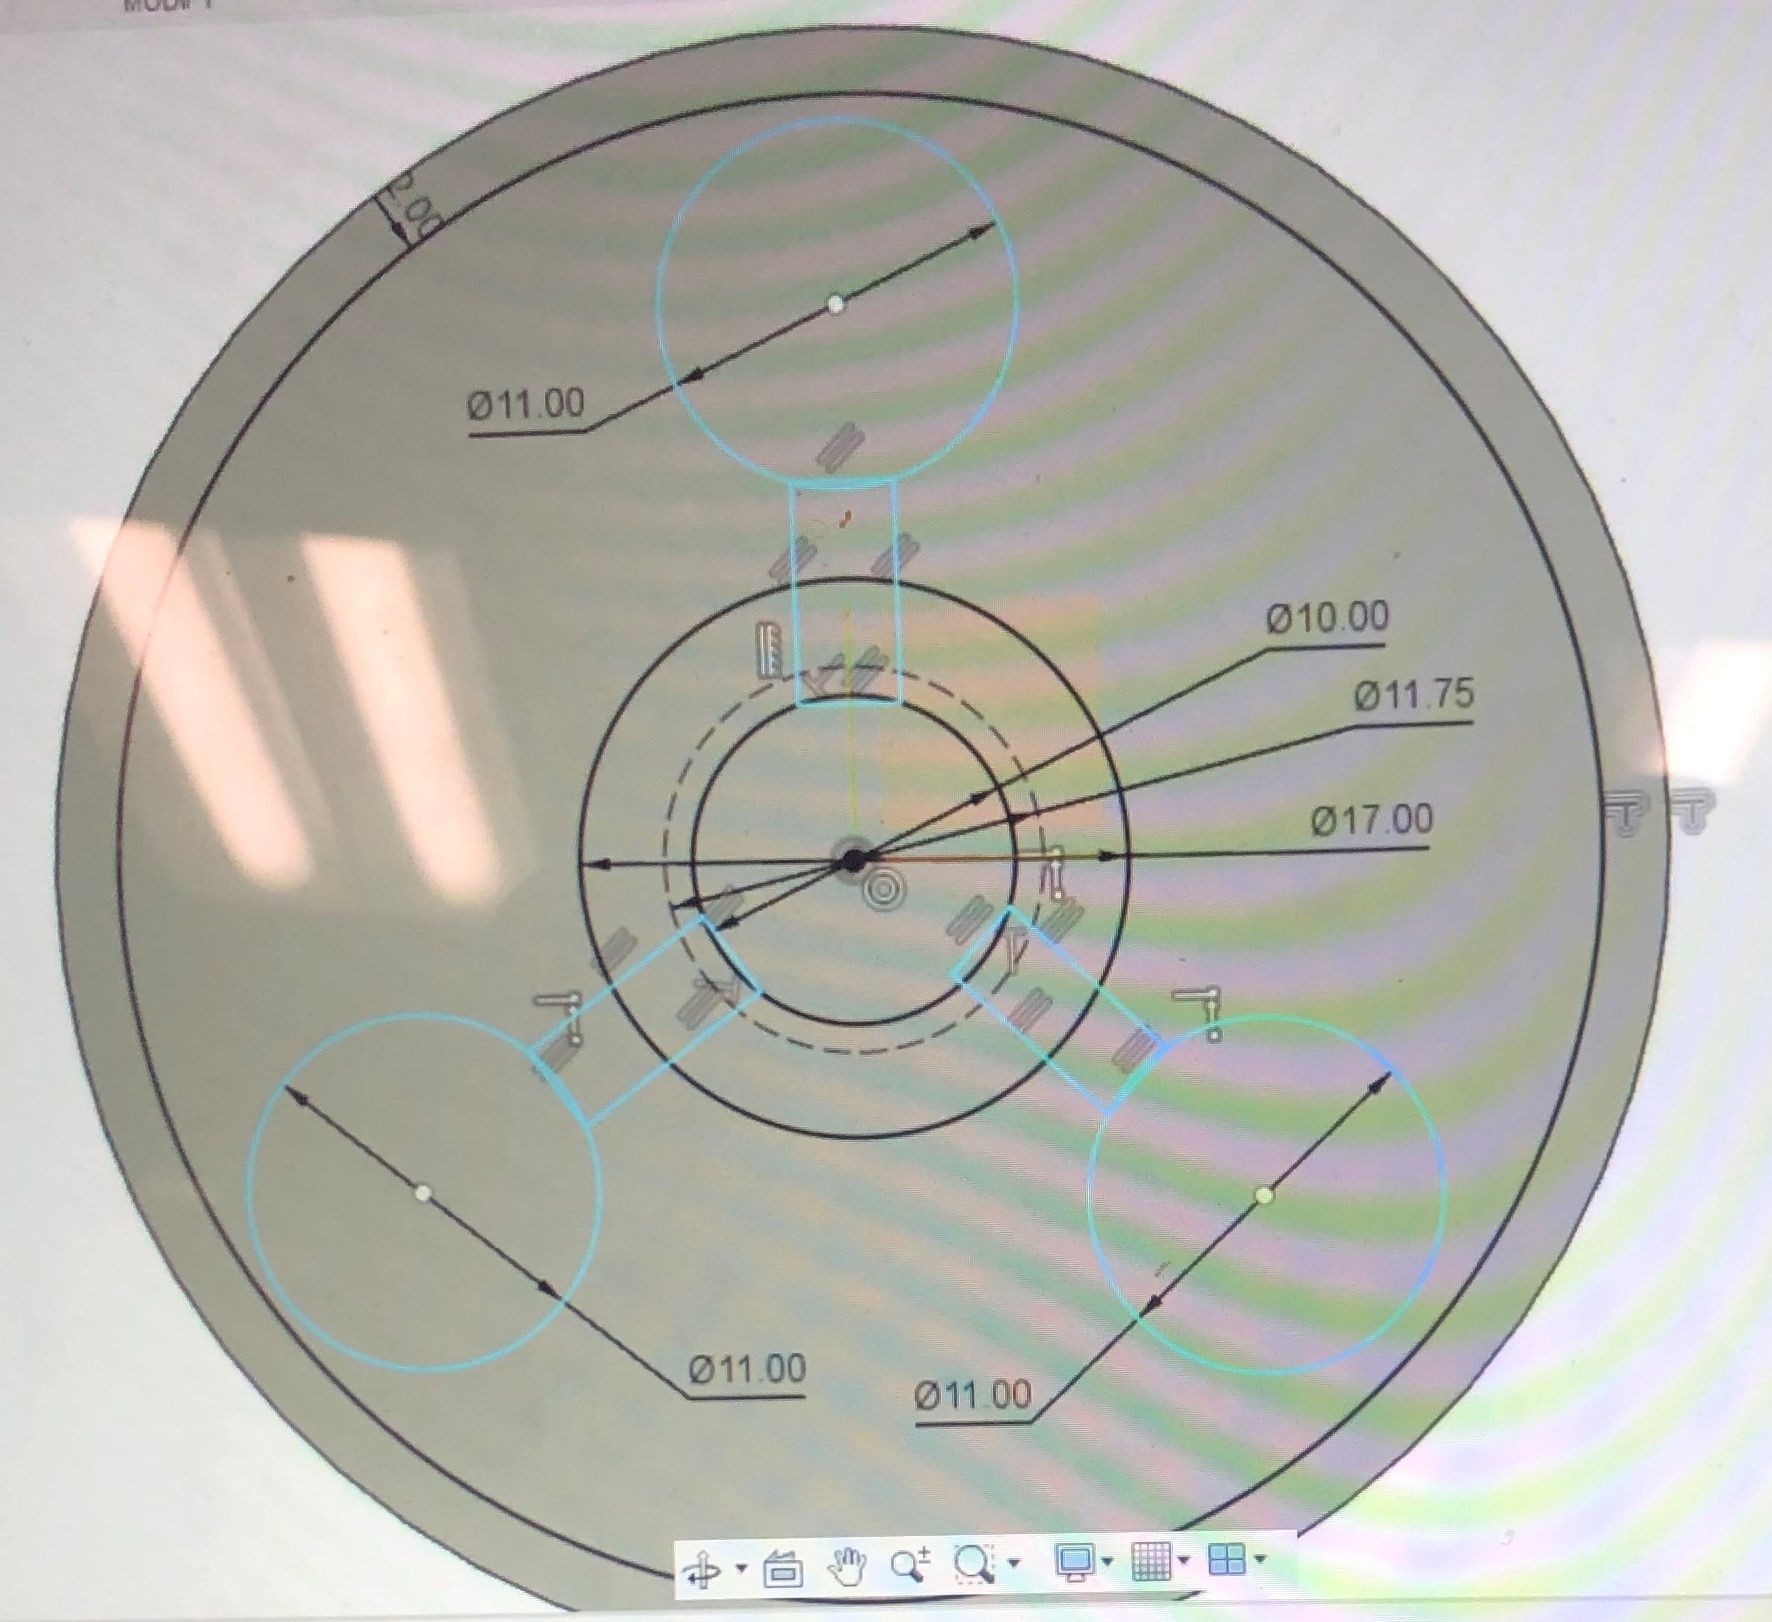
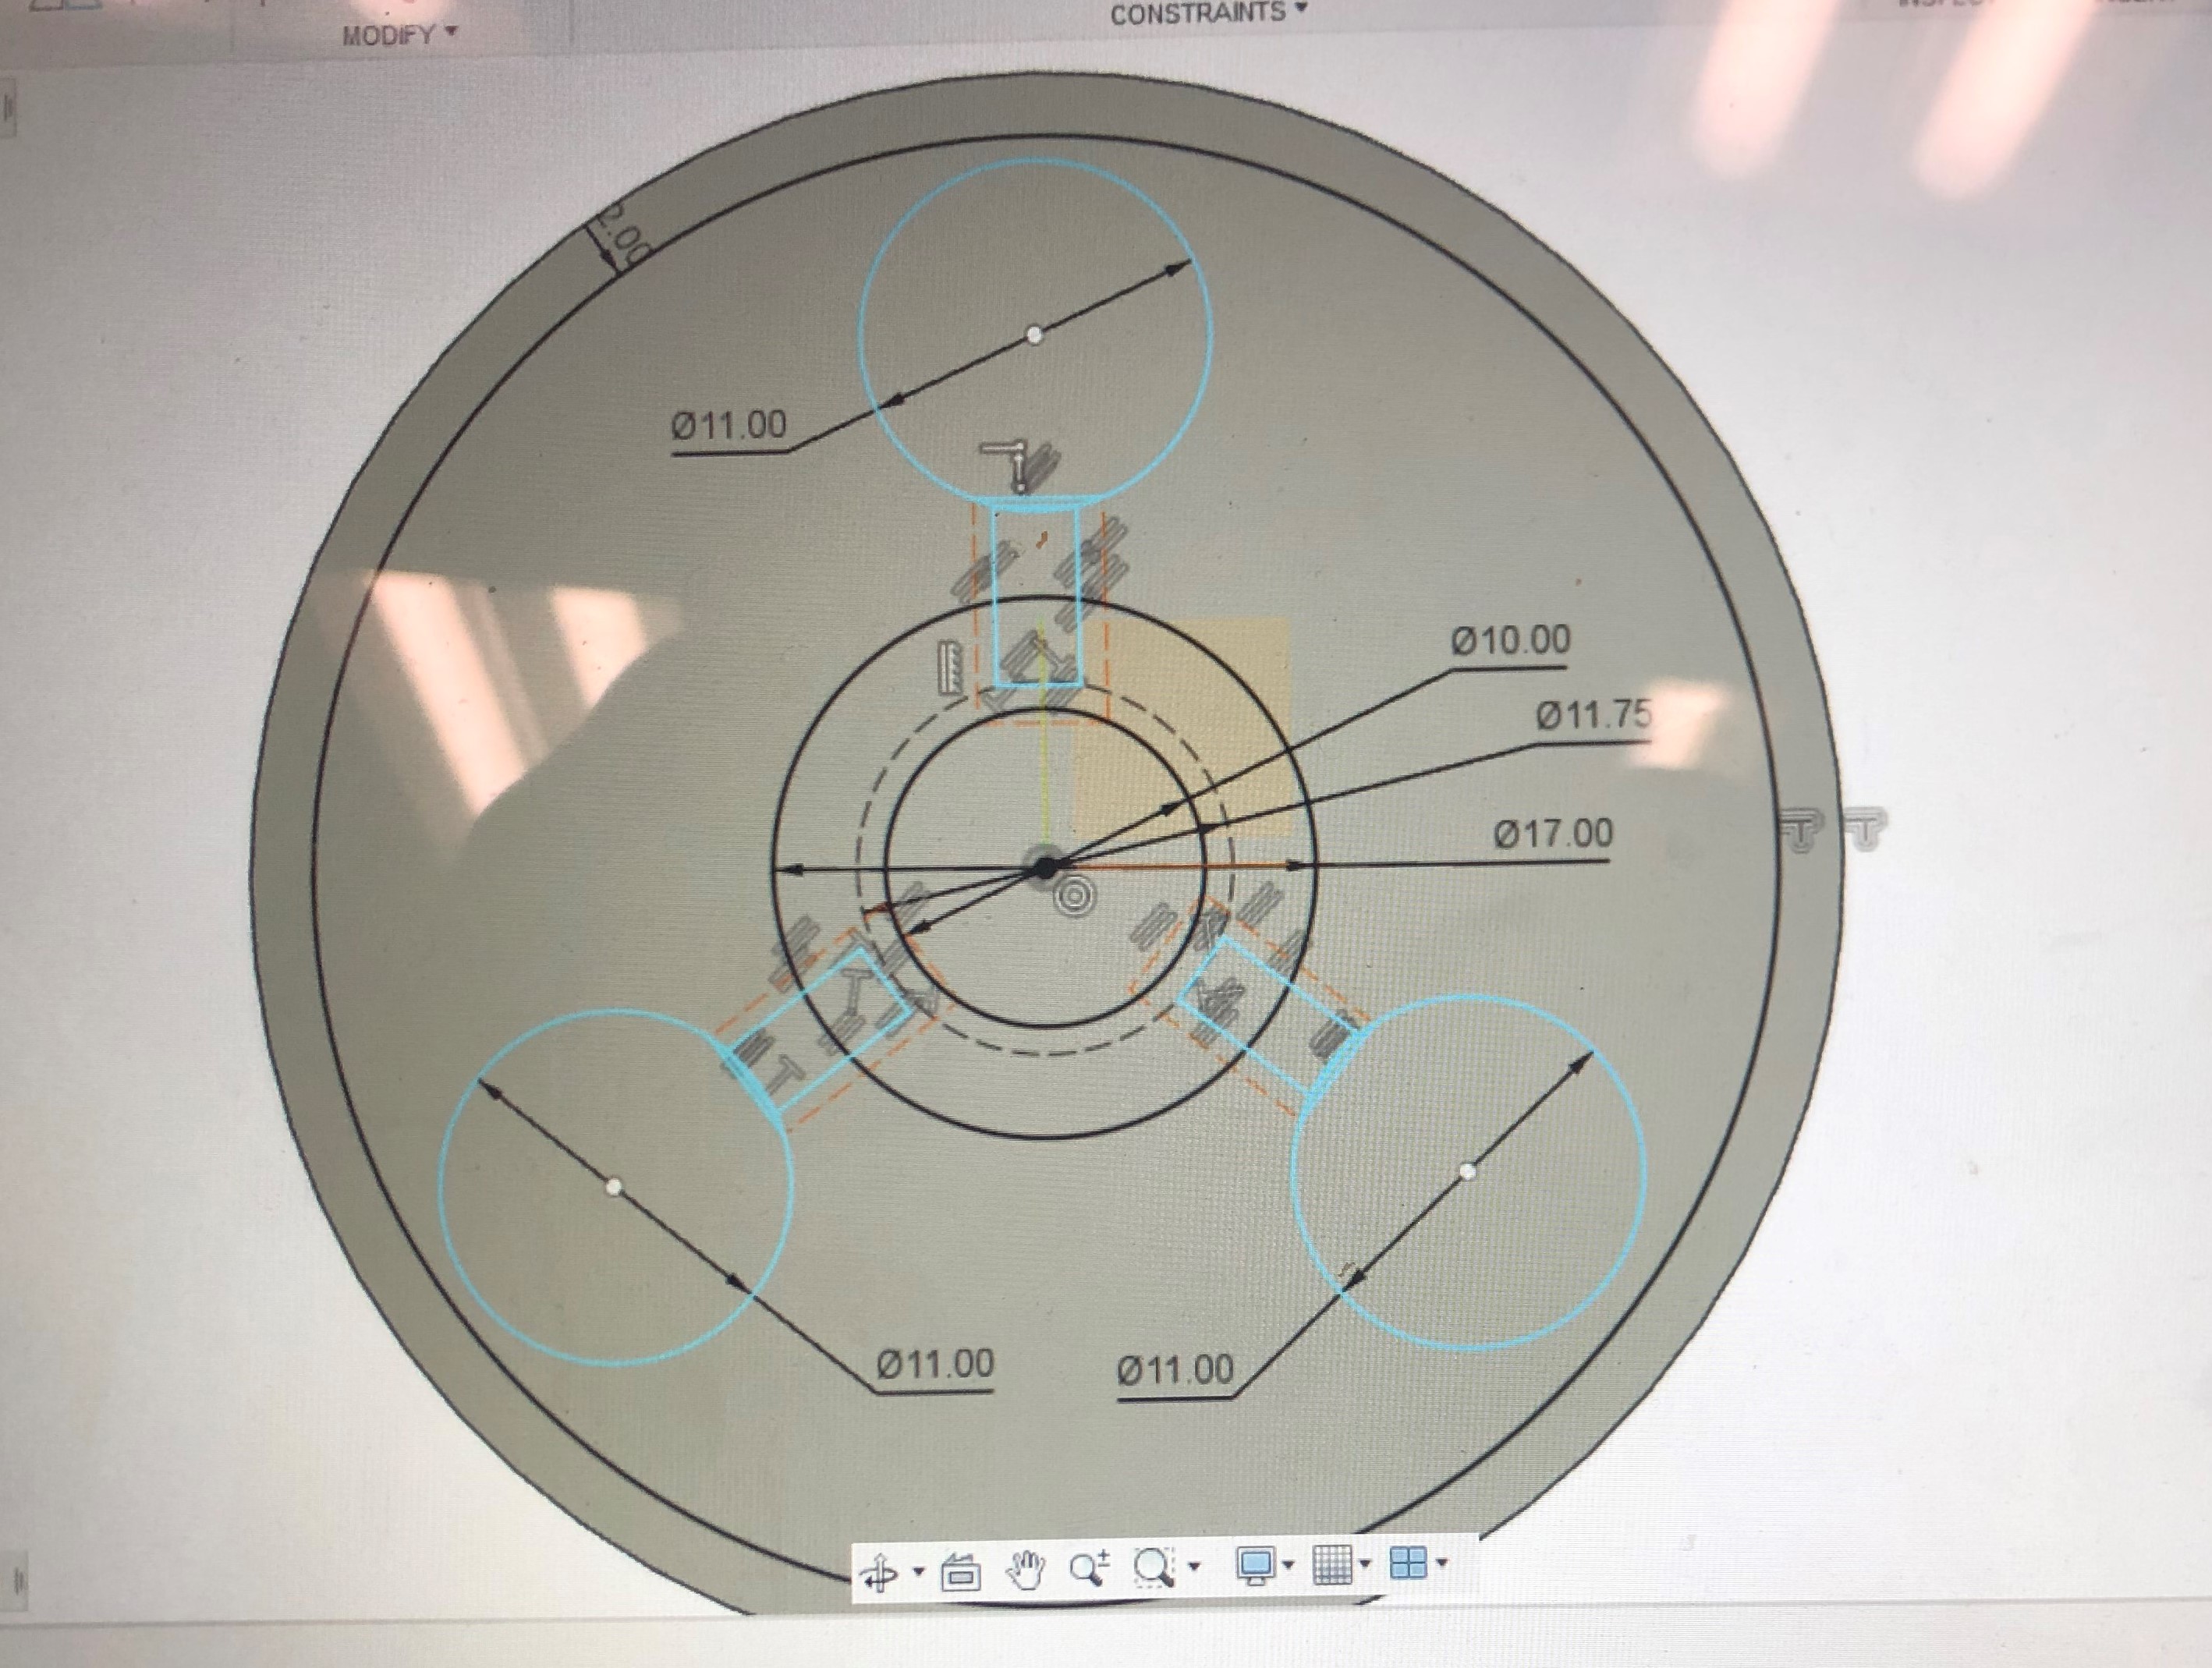
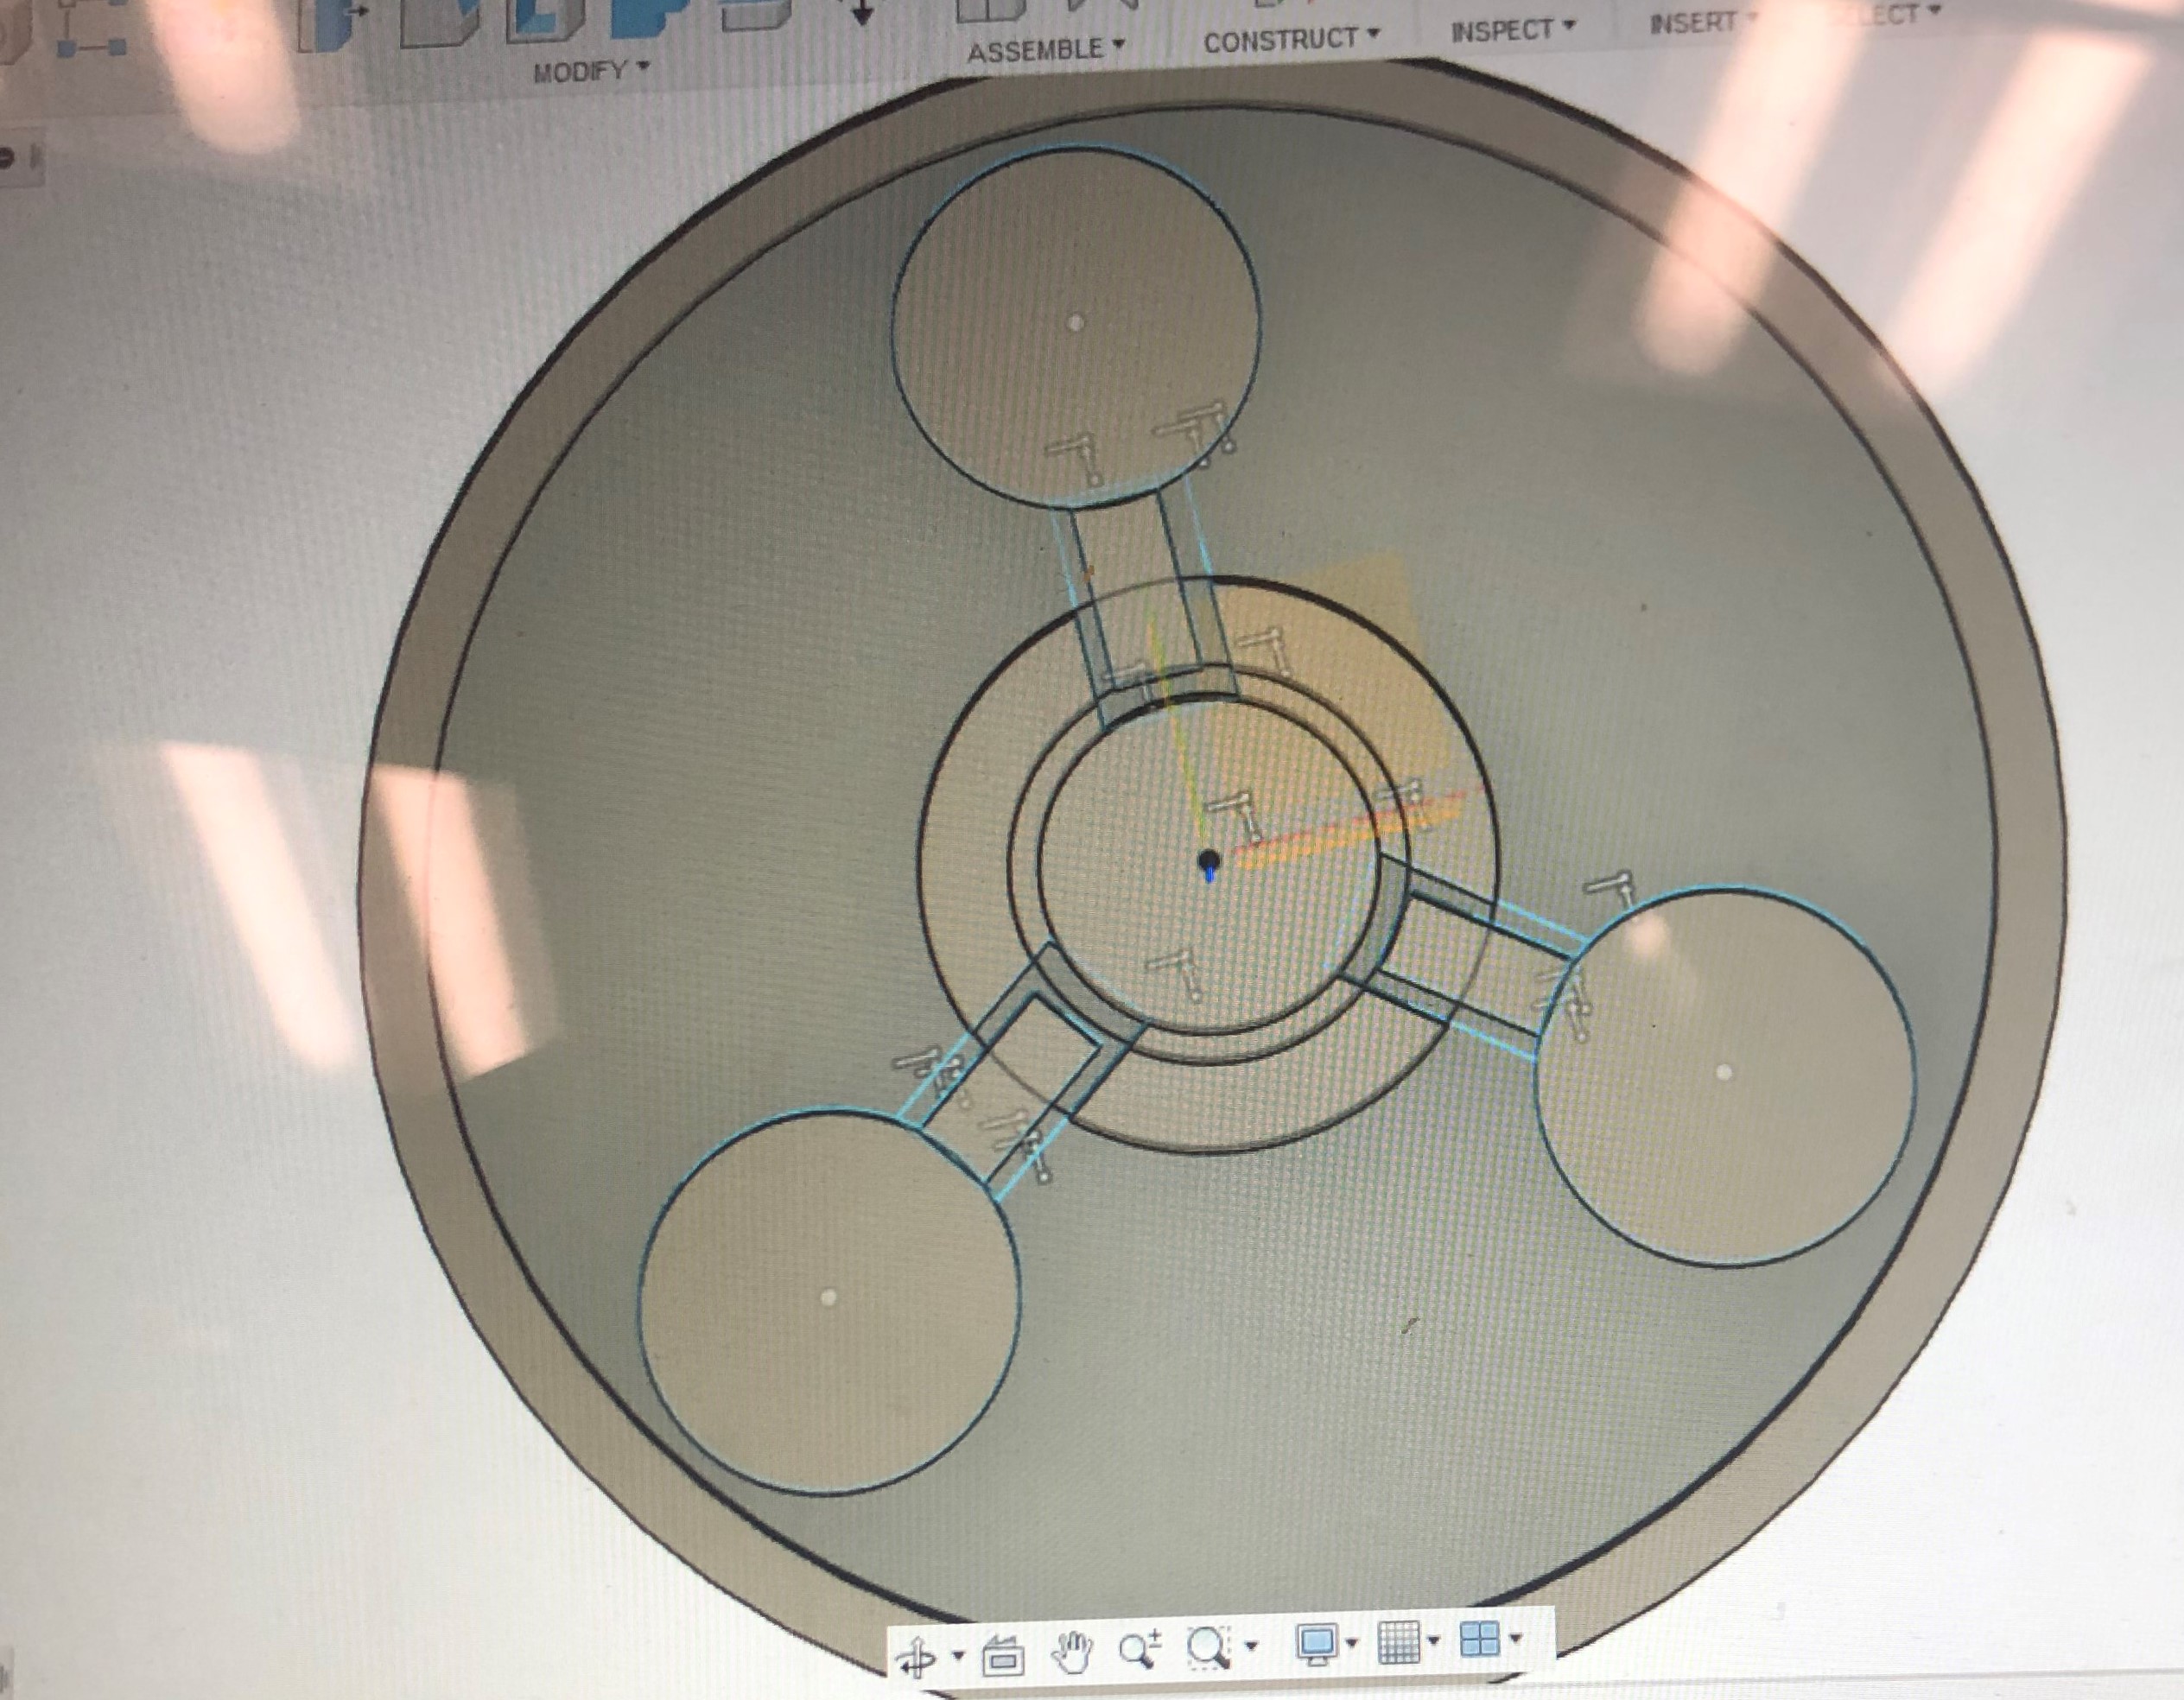
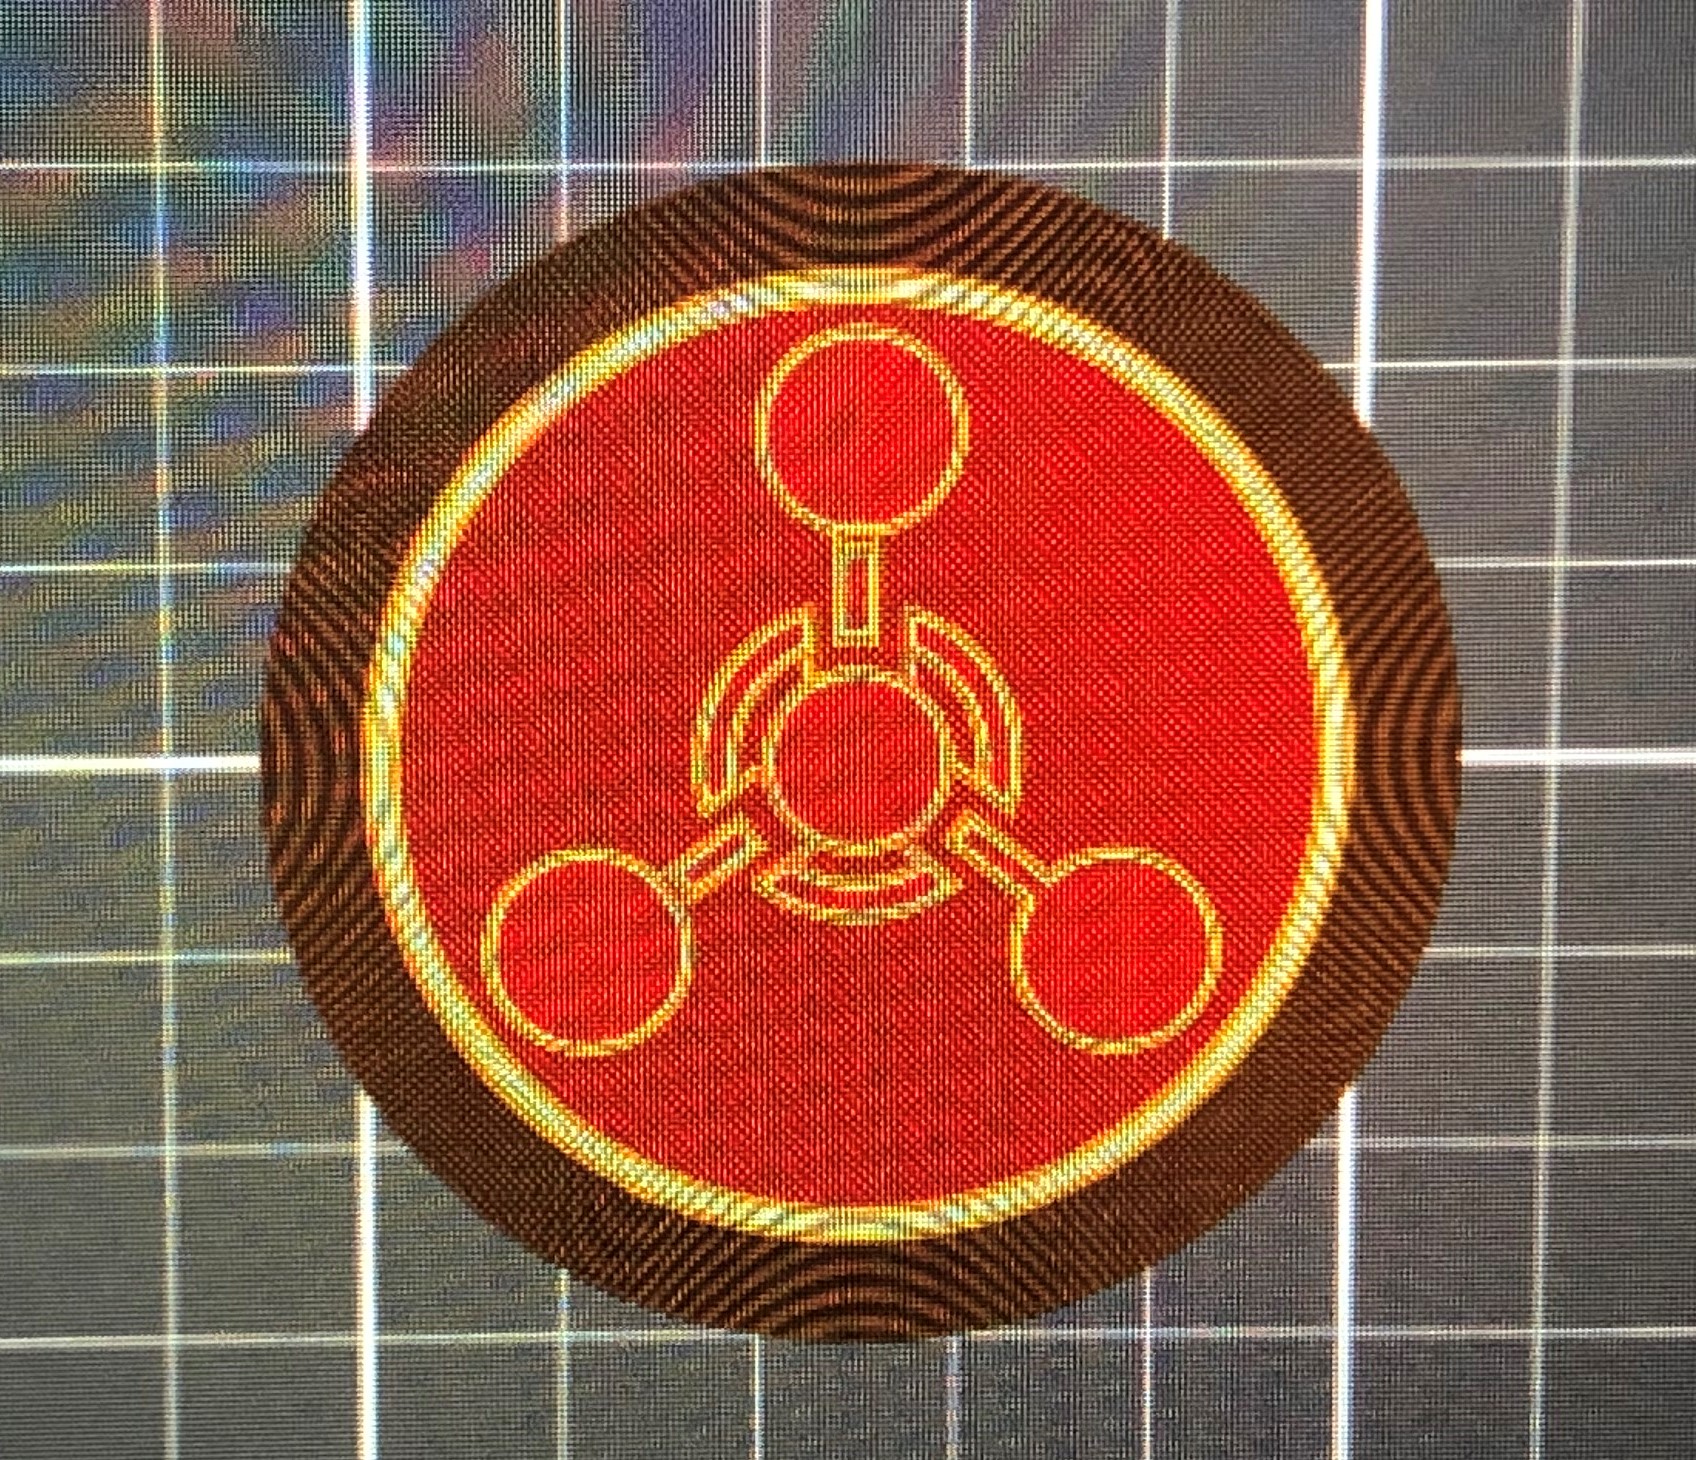
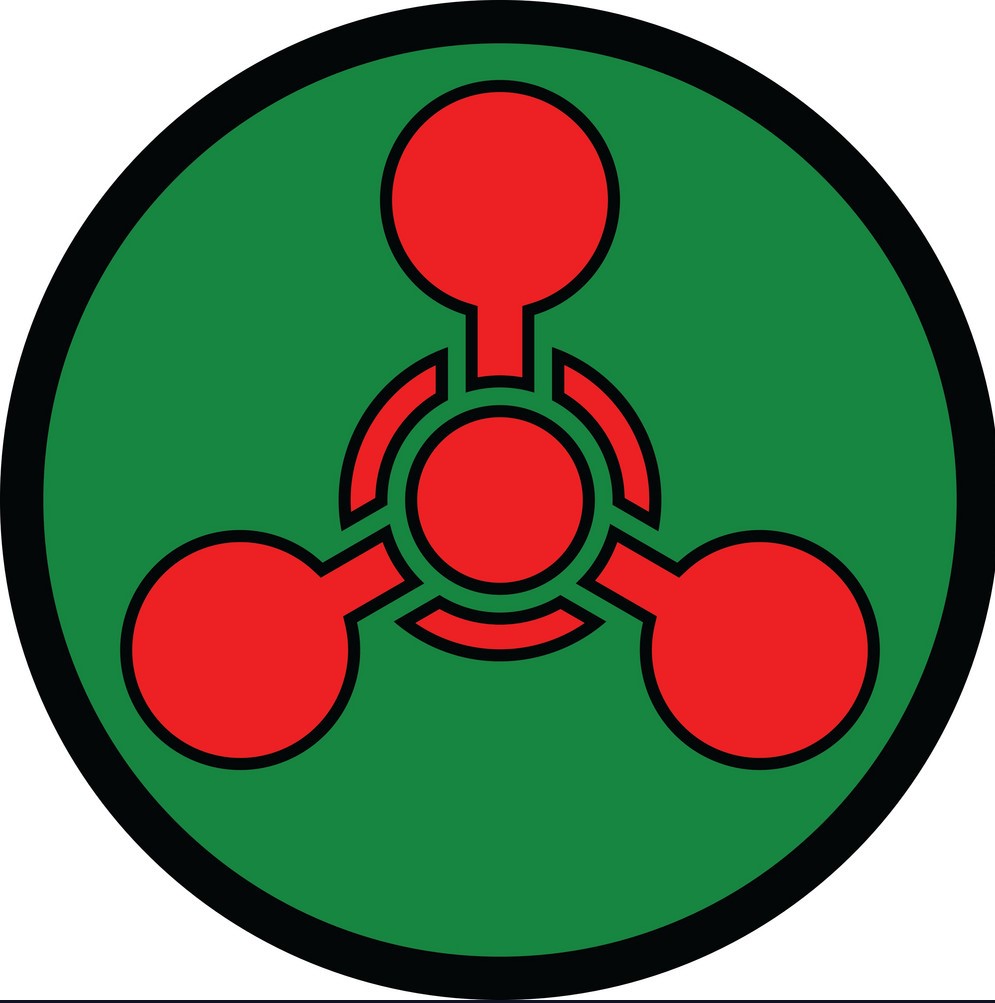
To make the biochemical symbol, you start at the origin, create a new sketch, define the shape, extrude it, and then working on top of the surface. Next, you need to create another circle and offset to create your layers to make the symbol. After that, you have to create five circles and make six rectangles that are going to be connected to the outer three circles. There will be two inner circles, one that is directly in the center and the other one is around it. The second inner circle will be intersecting/overlapping with the rectangles As they overlap it will help later when we are extruding parts of the model. Once you have adjusted all the sizing and made everything proportional, you need to extrude the layers that you would like to print.
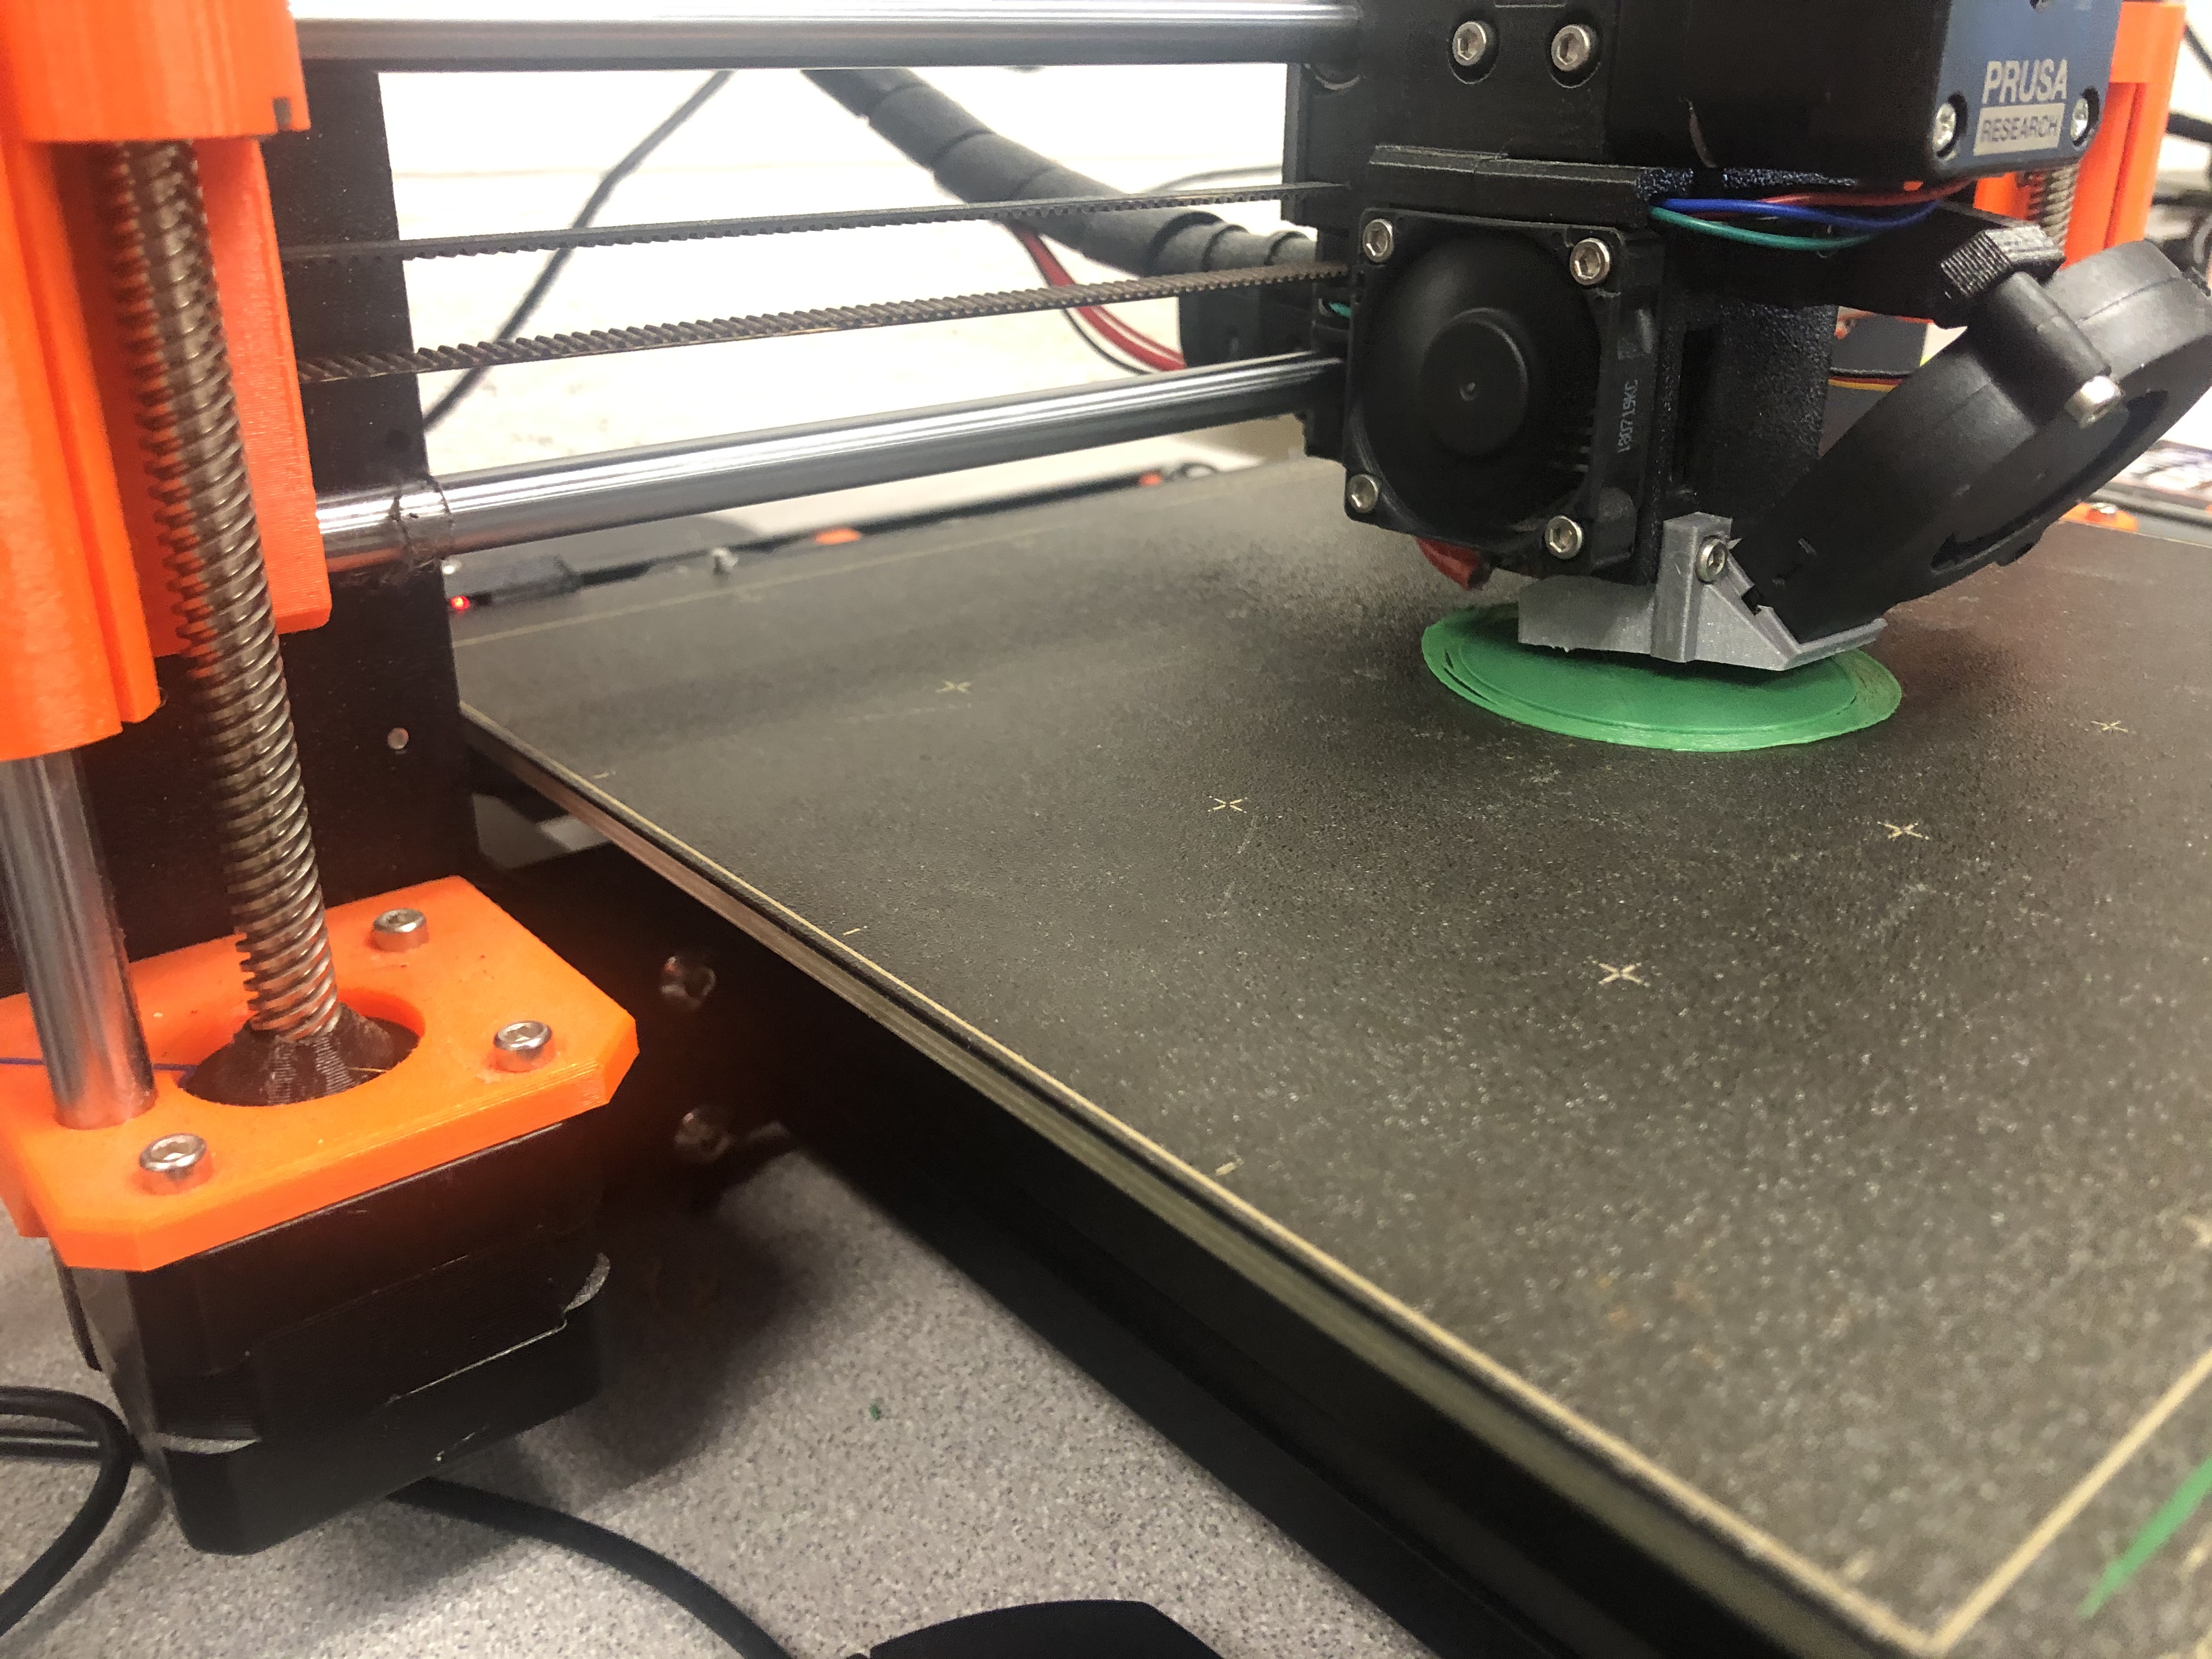
3D printing: When you finish designing and you are ready to print you need to do a couple of steps. First, you need to enter it into Prusa slicer and adjust the size and check all the layers. Next, you need to select the generic PLA and export the G.code to the SD card. Finally, enter it into the 3D printer ( I used Asaji) and print from SD and wait for it to be printed. This project was very challenging, I have never used Fusion 360 and it’s a lot more complex than TinderCad. Overall now that I kind of know what I'm doing it’s starting to get easier to figure out.
Design files